Using the Nintendo Wi-Fi USB Connector
Please Note: You must start Windows, and insert the enclosed CD-ROM that came with the Nintendo Wi-Fi USB Connector, into the PC.
- When the USB Connector setup window appears, click OK to begin the installation process.
If the setup window doesn't appear, click the 'Start' button, choose 'Run', then click on the 'Browse' button. Click on the CD drive that the setup disc is in, then locate the Setup.EXE file and double-click it.
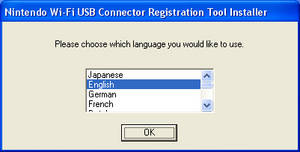
- Select the language, then click OK. The software will begin to install.

Note: If you receive the error, "You are not connected to the internet", this means that the setup utility is not able to detect an active internet connection. If you are using a laptop computer with Wi-Fi access, you must first connect to the internet before you can finish setup.
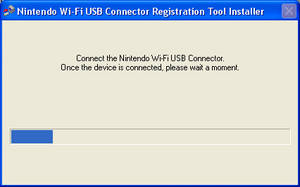
- When directed to, insert the Nintendo Wi-Fi USB Connector into any open USB slot on the PC. USB ports attached to a monitor or keyboard will not work.
If the warning, "Hi-speed USB device plugged into non-hi-speed USB hub" appears, click OK. This just means the USB port is an older 1.1 USB port version.
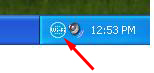
- Make sure the Nintendo Wi-Fi USB Connector is attached to the PC, then click on the Nintendo Wi-Fi USB Connector Registration Tool icon in the lower-right corner of the Windows task bar.
Once the software is installed, you must register your Wii console using the Nintendo Wi-Fi Connector Registration Tool.
Connecting Wii Online Using the Nintendo Wi-Fi USB Connector
- On the Wii Menu, select the 'Wii button' in the lower left corner.
- This will take you to the settings screen. On this screen, select 'Wii Settings'.
- Enter the Wii System Settings menu and select 'Internet' on screen 2.
- Select an empty connection slot, signified by 'None'.
- Select 'Wireless Connection'.
- Select 'Nintendo Wi-Fi USB Connector'.

- Select 'Next' on the Wii console to continue.
- Go back to your PC. In the Windows registration tool, the Nintendo Wii's nickname will appear.
There will be a small, yellow "?" next to it.
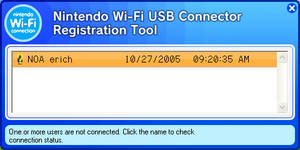
- Click on the Nintendo Wii's nickname and select 'Grant permission to connect.'

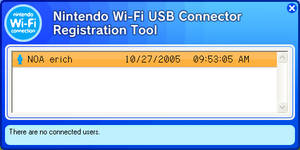
- A blue, standing man icon will appear next to the Wii's nickname. The Wii console will now have permission to connect to the USB connector.
- After you have established a connection with your PC, you'll see a 'Next' option appear in the Wii console's Internet Setup. Select 'Next'.
- Select 'OK' to test the connection.